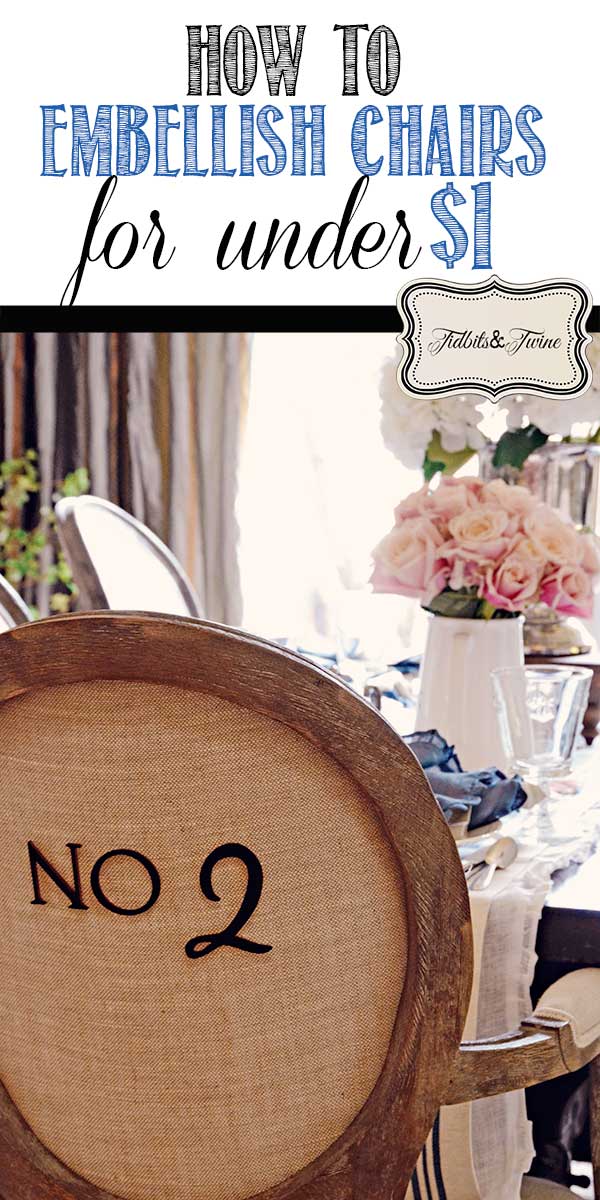
I have been wanting to embellish the backs of my dining chairs for a while, but couldn’t quite figure out what I wanted to do…until now! And you won’t believe how easy or inexpensive this update is!
I embellished all of the chairs in under 10 minutes for under $6 for all six chairs!
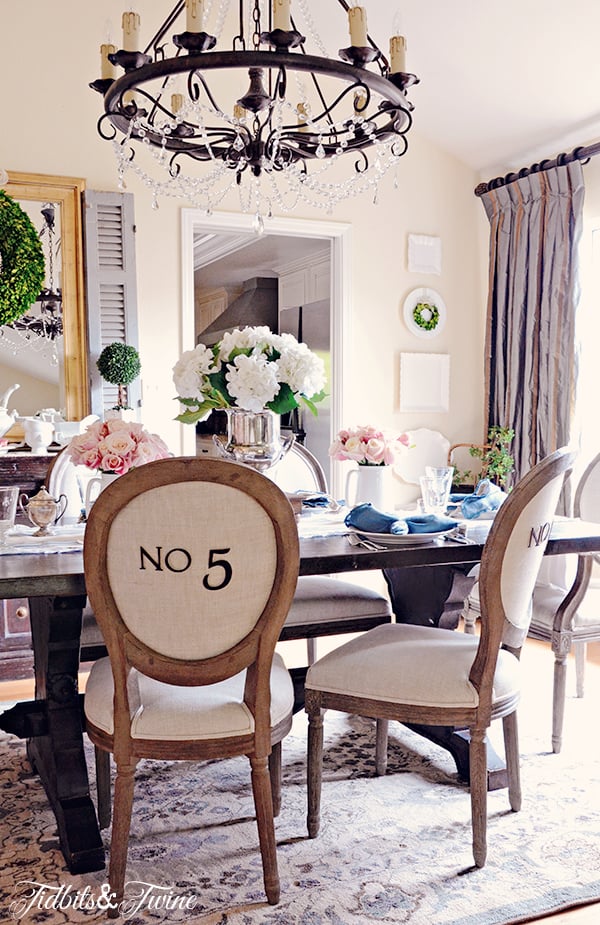
As you might have seen, I recently posted some updated pictures of my dining room.
I’ve posted photos of this room before, but I recently made four changes to this room that to me, have given it quite a different look!
- I replaced the old area rug with this new one from Target. Not only are the colors a better fit with my decor, but since it was inexpensive, I won’t cringe as much when I see our cat clawing it!
- I created a display with my serving platters in the corner. Details about the plate wall can be found {here}.
- I turned my Italian-style chandelier into a more French looking one with the addition of some crystal bling! {I’ll post more about this later in the week.}
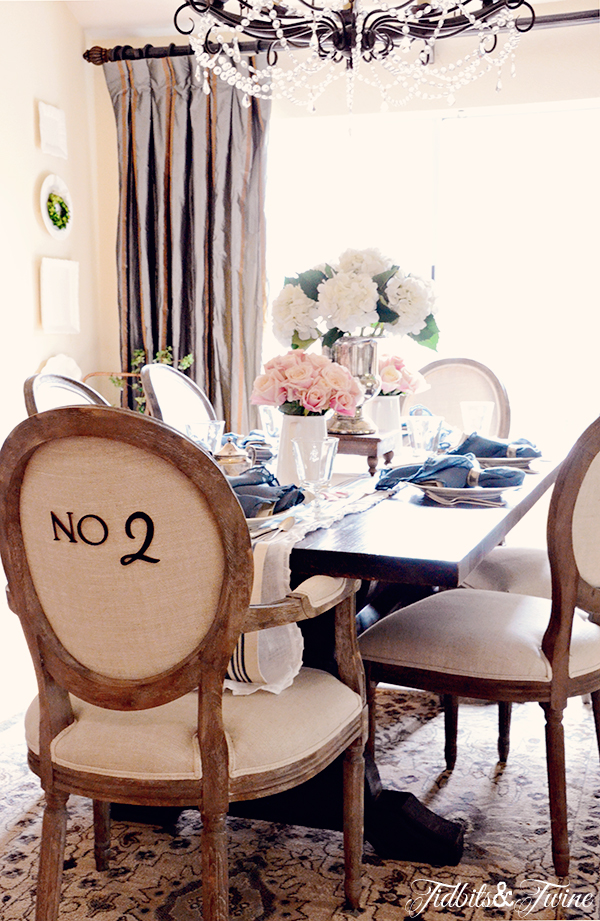
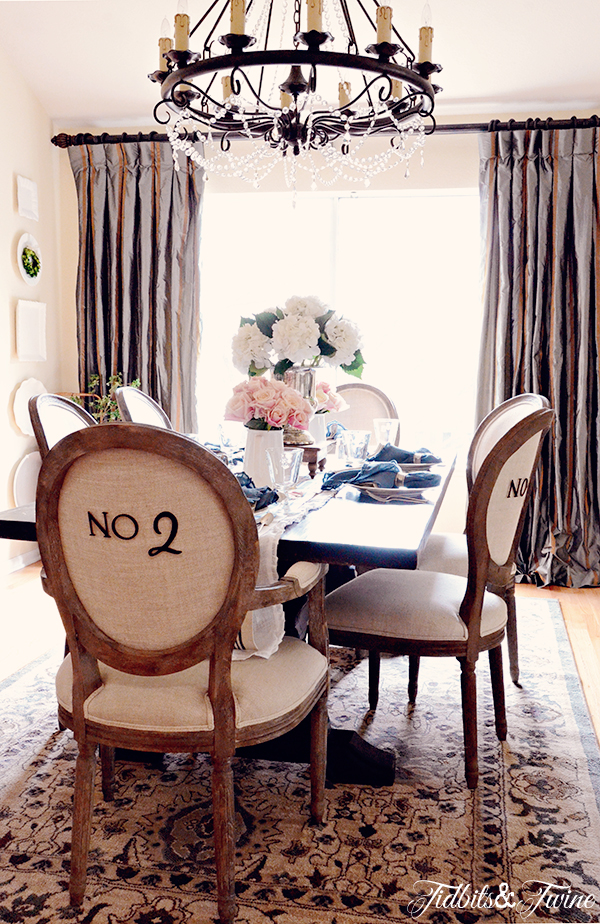
- I embellished the backs of my dining chairs with numbers to give them a more customized look.
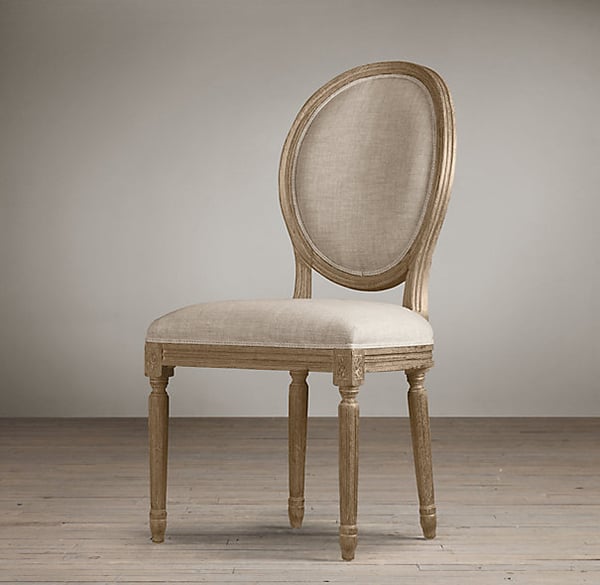
I have the Vintage French Round chairs from Restoration Hardware in my dining room, similar to the one shown below but in a different finish.
When you first walk into my home, my dining room is visible, and so the backs of the chairs are always on display. I’ve posted before about ideas for embellishing chairs for everyday use (post here) and from the photos, knew that I wanted to add numbers to the backs. I first considered vinyl numbers but then decided that even if I could get them to stick to the linen, I wouldn’t love the vinyl texture in my dining room.
Luckily, while browsing Michael’s not so long ago, I came across these small, wooden numbers and letters. That’s when inspiration struck! Here’s what I did:
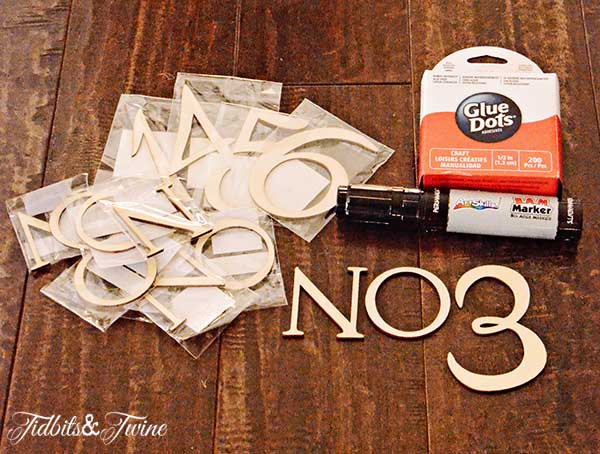
Supplies
- Wooden N’s and O’s and numbers 1-6 {$0.29 each)
- Permanent Marker
- Glue Dots
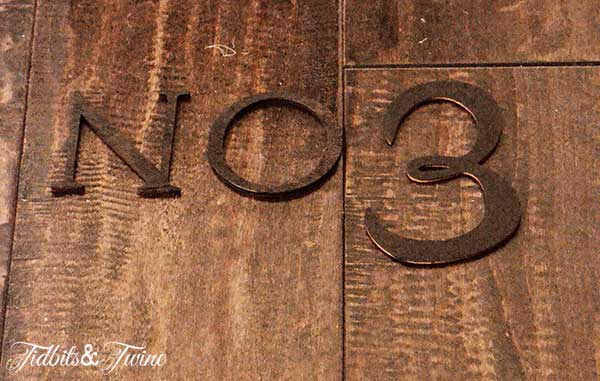
Step 1:
Color the letters and numbers with permanent marker. I used black for my dining room, but keep in mind that the wood absorbs the color a bit so a black marker doesn’t necessarily translate to a rich black color on the wood. Paint would work as well, but I wanted something quick and easy that didn’t require any drying time.
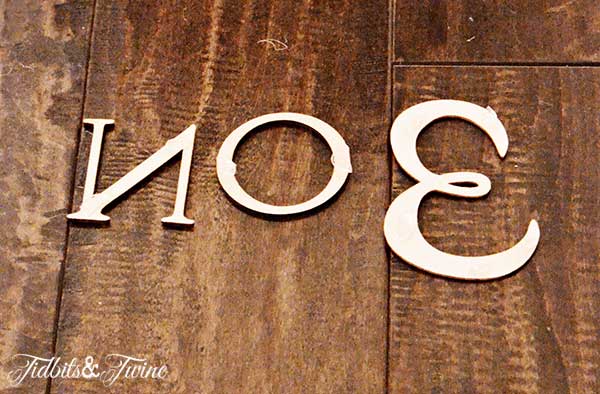
Step 2:
Affix glue dots to the back.
Step 3:
Stick on the backs of the chairs and enjoy! It’s that simple!
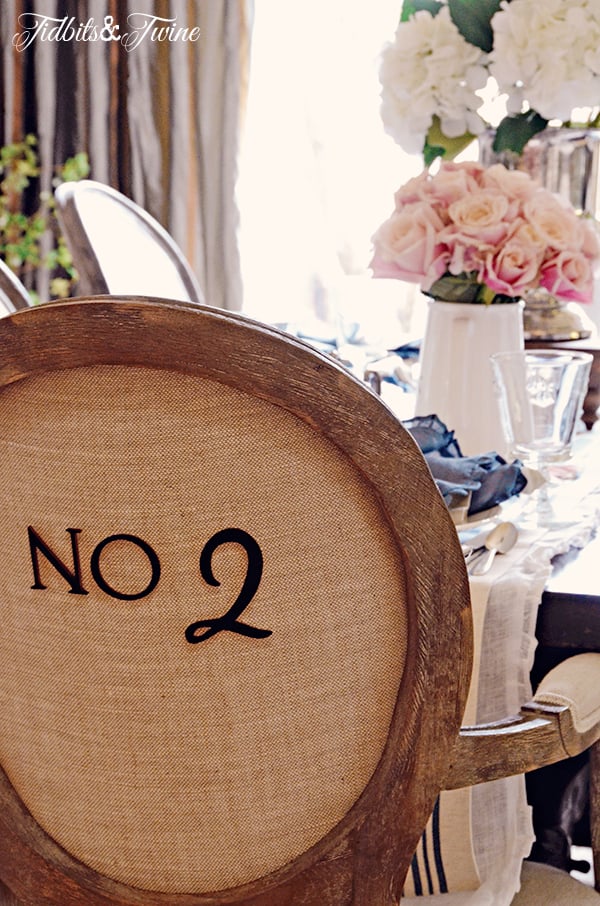
You could of course use something more permanent to affix them to the chairs, but I tend to change my mind a lot and so want the option to remove them without damaging the fabric. Although my hubby thinks it’s a little odd that our chairs are numbered, I’m happy with the way they turned out and feel like my chairs now have a more custom look that is definitely more “me.”
Have you embellished or customized your chairs? I’m always on the lookout for new ideas and would love to hear what you’ve done!

P.S. – Additional photos of my dining room can be found {here}.
Sharing At: The Scoop – My Uncommon Slice of Suburbia – Savvy Southern Style – A Stroll Thru Life
Would you like to receive my posts via email? Enter your email address below. You will instantly receive an email from FeedBurner and you will need to click the link to activate your subscription.
Join the Community
Let’s keep in touch! Get exclusive artwork plus the latest news delivered directly to your Inbox!
Hi Kim, I love this idea! Do you think it would look good with initials instead of numbers?
Hi Arabella! I’m so sorry! My site stopped notifying me of new comments and so I didn’t see yours until just now. Yes, it would look good with initials. I actually changed out the decals for Fall one here. You can see how they look with a different design here: https://www.tidbitsandtwine.com/2017-fall-dining-room-tour/